Welcome. In this guide you'll get your ROAS form live in the next 10 minutes.
Give it a name that makes sense to you, usually your business or client name.
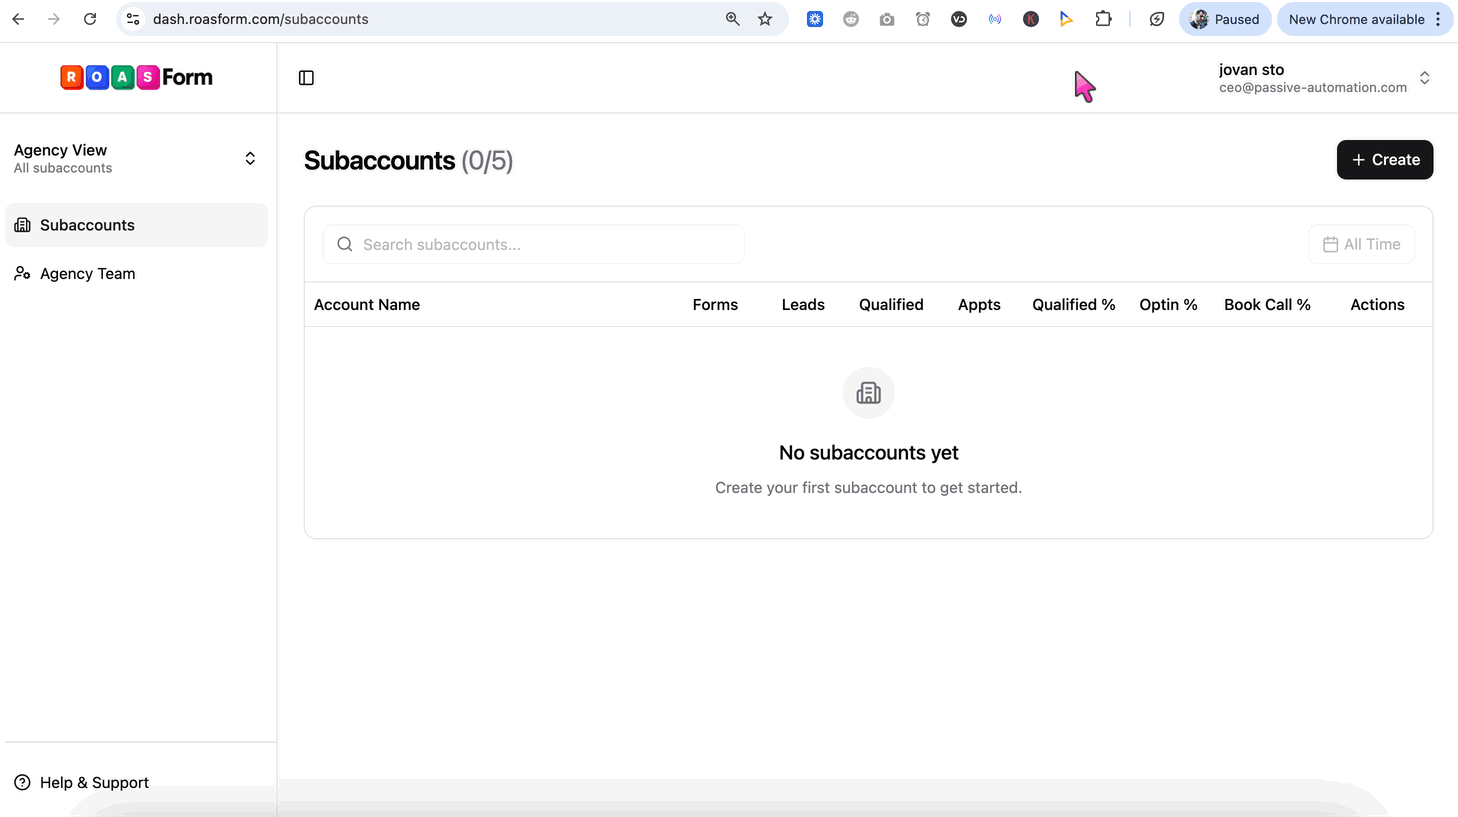
Each sub-account stores will store all your related data, such as forms, leads, booked calls, funnel and form analytics, split tests, and more.

Connecting your GoHighLevel will allow you to automatically push leads and their data straight into GoHighLevel.
Also, you will be able to pull in your calendar timeslots from GoHighLevel, meaning leads can schedule calls without ever leaving your form! They will not be forced to re-enter all their contact info, or load a separate calendar page just to book a call. This is what makes ROASForm so powerful!
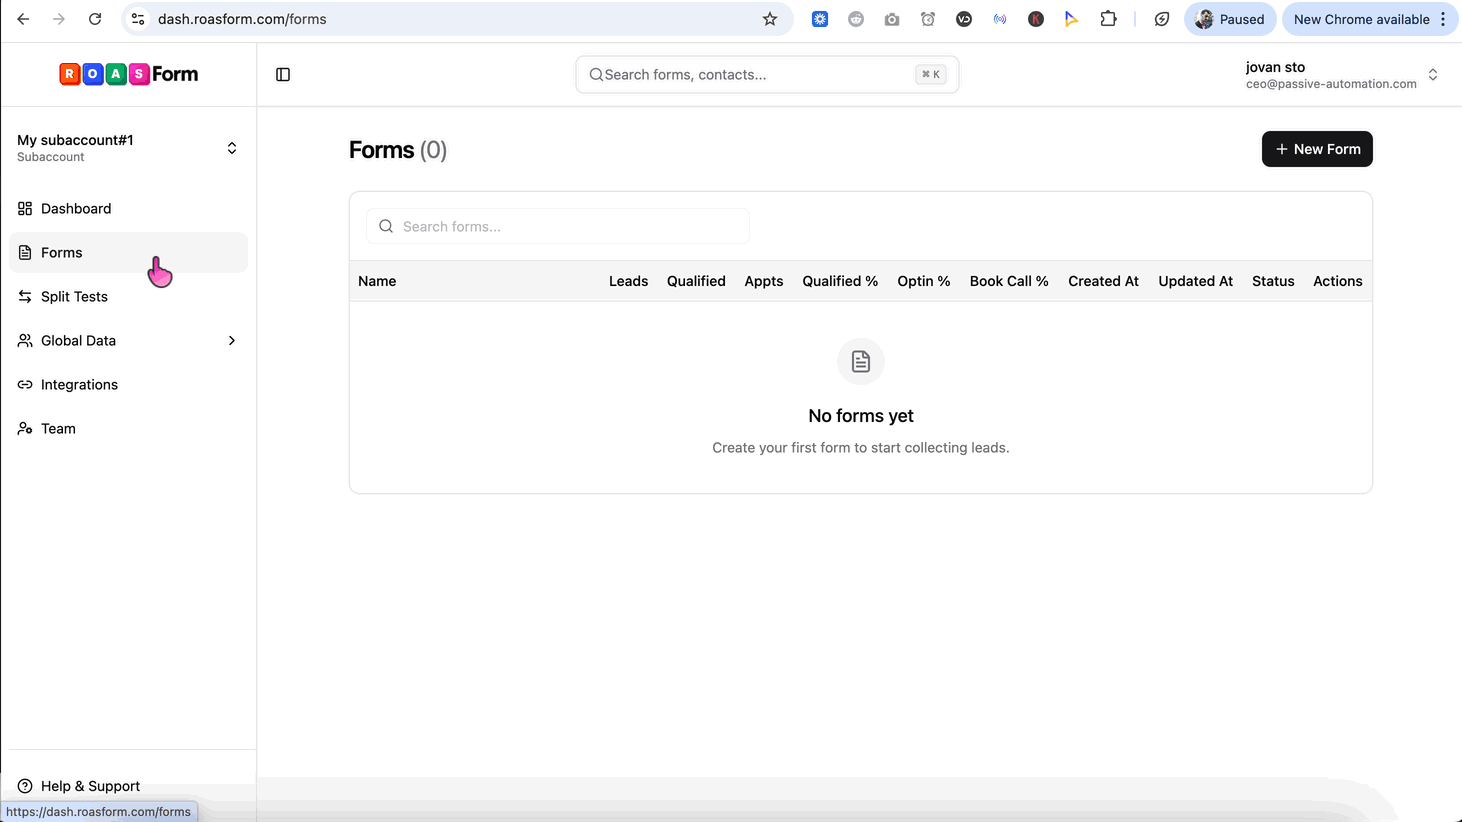
Create your first form, then click Add Content to start adding content or questions to your form.
For qualified leads, you will likely want to show a calendar widget to allow them book a call.
On the bottom left Endings section, click the + icon.
Choose your ending type (i.e Calendar widget) and select a Lead Qualification status
On the right side panel, click Calendar Settings and pick which GoHighLevel Calendar time slots you want to pull in.
Configure any additional desired settings on the right side panel, such as what to do after someone schedules a call.
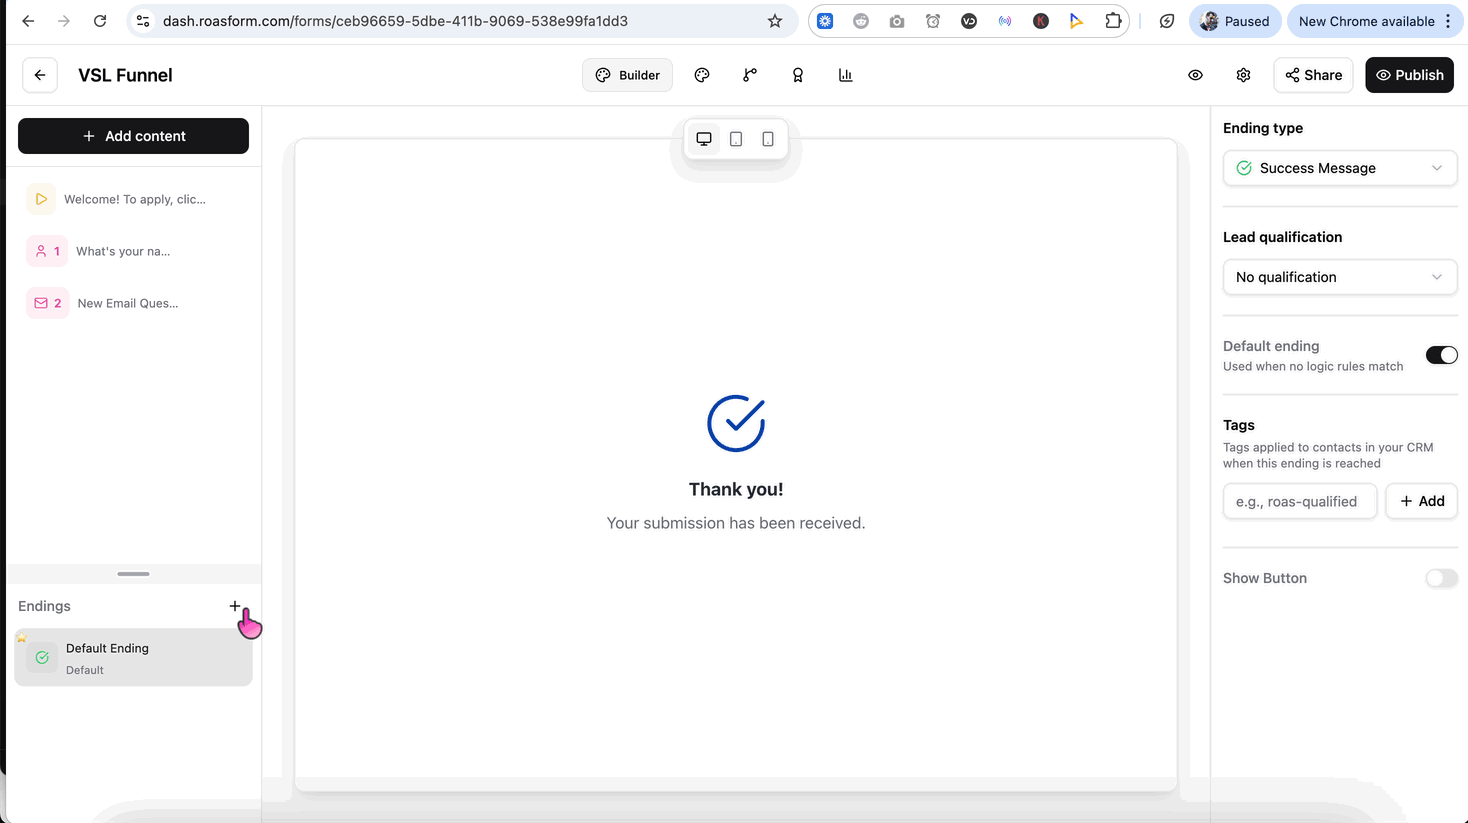
For unqualified leads, you will likely want to show a thank-you message or redirect them to a URL.
On the bottom left Endings section, click the + icon.
Choose your ending type (i.e URL Redirect or Success Message) and select a Lead Qualification status
Click into the content to edit any of the text.
Configure any additional desired settings on the right side panel
On the top-center navigation bar, click Logic.
Add conditional logic so that based on the answers provided, you qualify/disqualify them and they reach the appropriate Ending path.

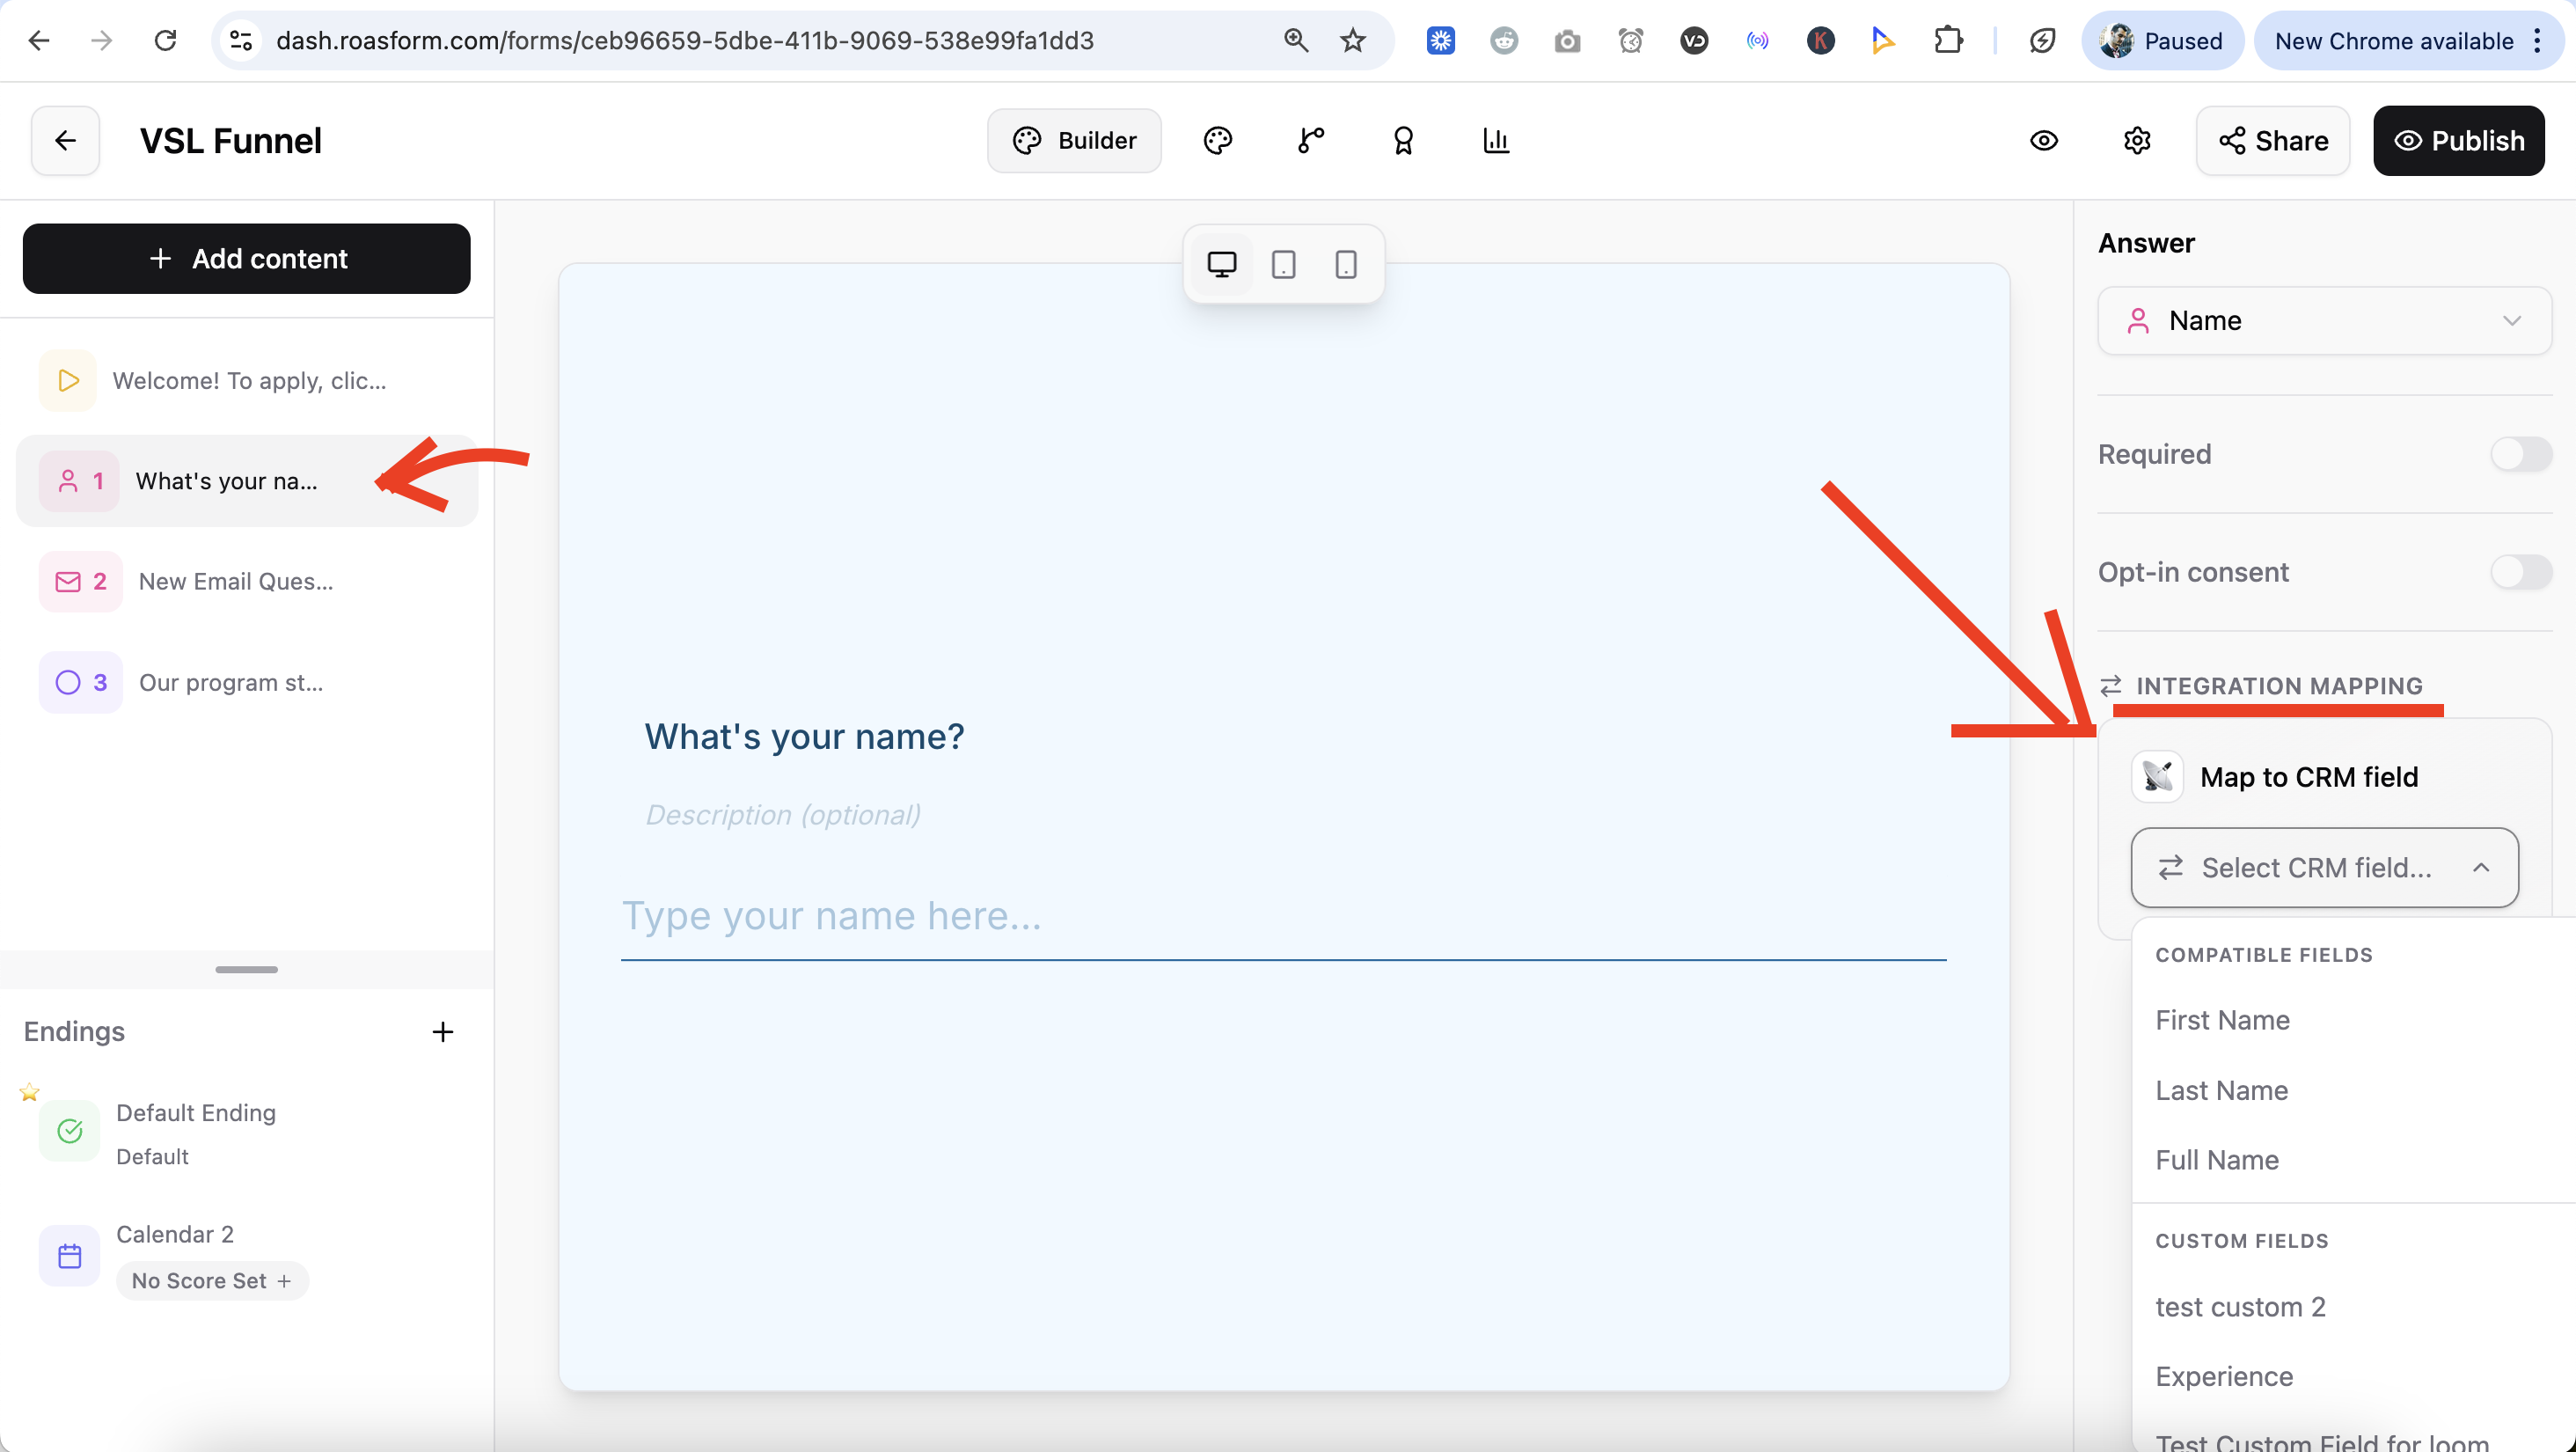
From the Builder tab, go through each question and map the field to a corresponding standard or custom field in GoHighLevel.